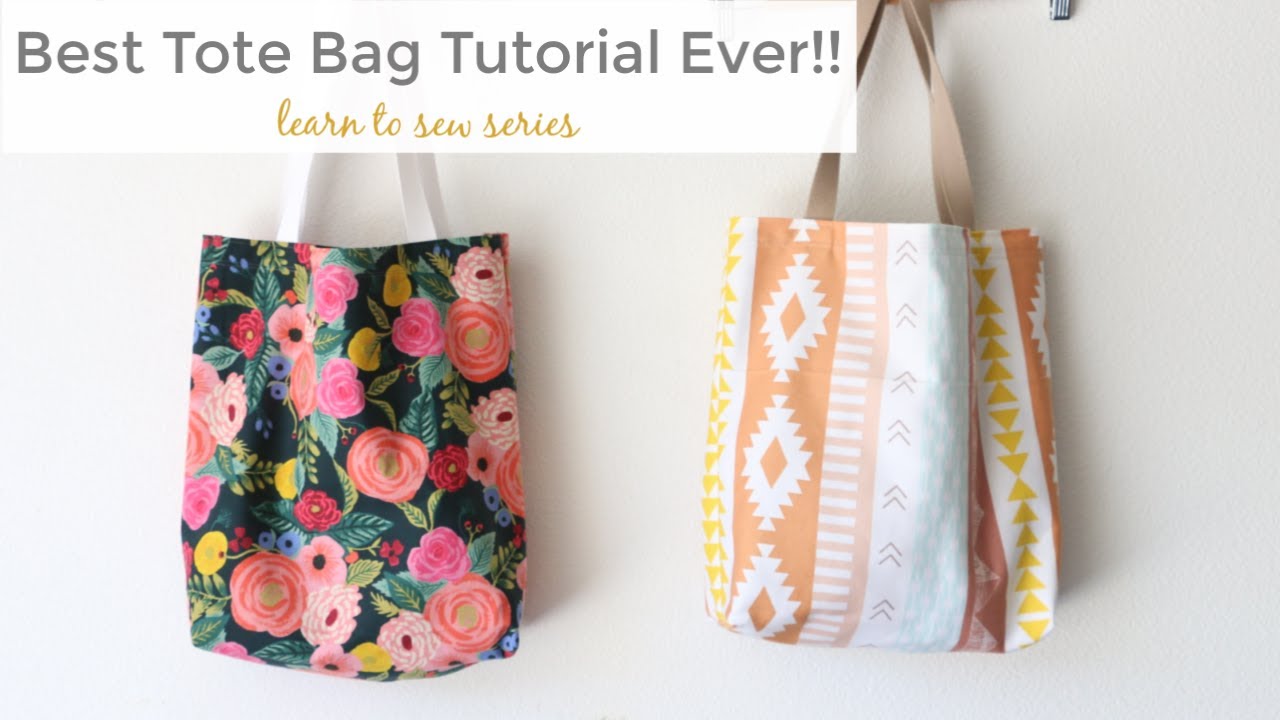
Making a tote bag is easy and fun. You do not need to be a pro. With simple steps, you can create a bag. This bag is perfect for shopping or carrying books. In this guide, we will show you how to make a tote bag. Let’s start!
Credit: www.youtube.com
What You Need
Before you begin, gather your materials. Here is a list:
- Fabric (cotton or canvas works well)
- Scissors
- Sewing machine or needle and thread
- Measuring tape
- Pins or clips
- Iron (optional)
Step 1: Choose Your Fabric
First, choose the fabric for your tote bag. Cotton is soft and easy to sew. Canvas is strong and durable. Pick a color or pattern you like. This will make your bag special.
Step 2: Measure and Cut Your Fabric
Now, it’s time to measure. Use the measuring tape. A good size for a tote bag is:
| Size | Dimensions (inches) |
|---|---|
| Body | 14 x 16 |
| Straps | 3 x 24 |
Cut two pieces for the body. Cut two pieces for the straps. Make sure to cut straight lines. This helps your bag look nice.
Step 3: Prepare the Fabric
It is good to prepare your fabric. Iron the pieces if they are wrinkled. This makes sewing easier. Lay the fabric flat on a table. Make sure it is smooth.
Step 4: Sew the Body of the Bag
Now it is time to sew. Take the two body pieces. Place them right sides together. Pin or clip the edges. This keeps them in place.
Sew along the sides and bottom. Leave the top open. Use a straight stitch. Make sure to backstitch at the start and end. This makes your seams strong.
Step 5: Make the Bottom of the Bag
Next, we will make the bottom. To do this, pinch the corners. Fold them so they form triangles. Measure about 2 inches from the tip. Draw a line. Then, sew along this line. Cut off the tip of the triangle. This gives your bag a flat bottom.
Step 6: Prepare the Straps
Now, let’s make the straps. Take the two strap pieces. Fold them in half lengthwise. Pin or clip them. Sew along the long edge. Use a straight stitch again. Turn them inside out. This hides the seams.
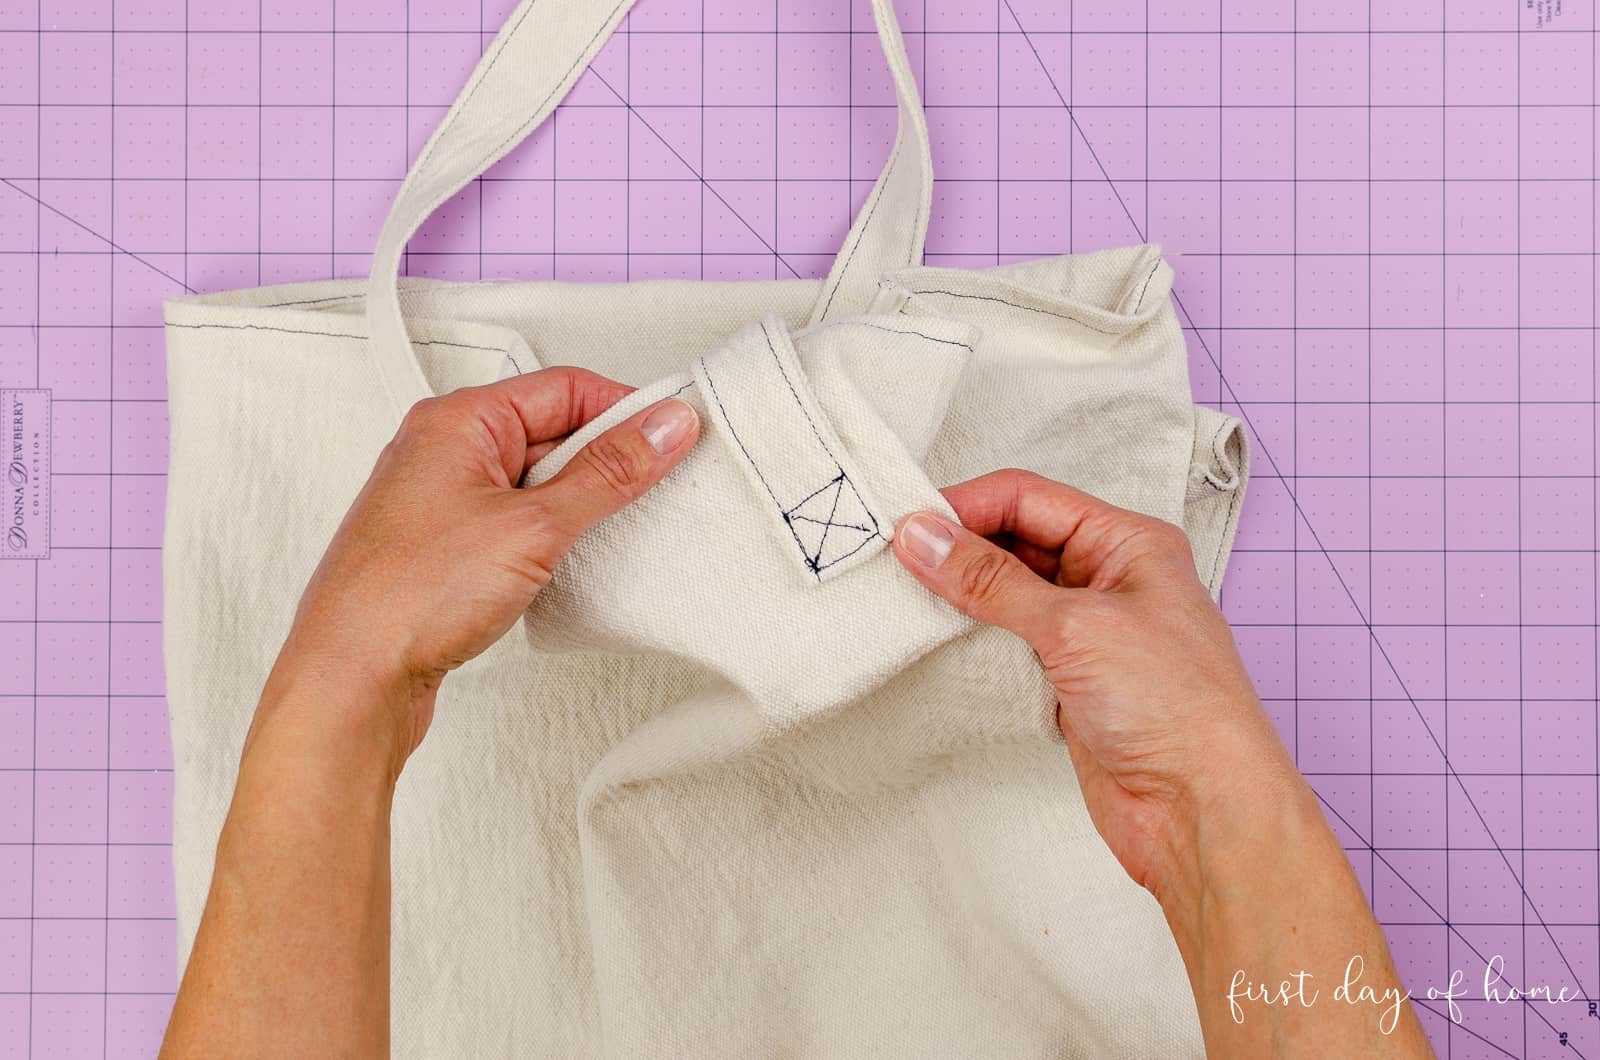
Step 7: Attach the Straps
Now we attach the straps. Take the body of the bag. Turn it inside out. Find the middle of the top edge. Pin the straps on both sides. Make sure they are even. Sew the straps in place. Use a square stitch for strength.
Step 8: Finish the Top Edge
To finish, fold the top edge down. Iron it to create a nice fold. Pin the fold in place. Sew along the top edge. This keeps the fabric from fraying. It also makes your bag look neat.
Step 9: Turn Your Bag Right Side Out
Now it’s time to turn your bag. Pull the straps and flip the bag. Make sure everything looks good. Use your fingers to push out the corners. This gives your bag its shape.
Credit: www.firstdayofhome.com
Step 10: Final Touches
Look at your bag. If there are any loose threads, cut them off. You can add decorations if you want. Try buttons, patches, or fabric paint. This makes your tote bag unique.
Care for Your Tote Bag
Your tote bag needs care. Wash it gently in cold water. Hang it to dry. This keeps it looking nice. If it gets wrinkled, iron it again.
Why Make a Tote Bag?
Making a tote bag is a great project. It is fun and useful. You can use it for shopping. You can also carry books or toys. Plus, it is a good way to learn sewing. You can make gifts for friends too.
Conclusion
Now you know how to make a tote bag. It is simple and fun. You can choose your favorite fabric. Follow the steps carefully. Soon, you will have a beautiful tote bag. Enjoy your new creation!